Installing Linux on a Microsoft Surface 3
Update: April 22, 2020
This post as it stands is pretty outdated, though I currently don’t have the time to fix that. Read this comment for an idea of how things are at the moment:
https://github.com/seanlane/seanlane.github.io/issues/6#issuecomment-617574939
TL;DR: Go checkout this project for the latest kernel: https://github.com/linux-surface/linux-surface
Update: July 23, 2019
I came back to this after a hiatus, and finally finished a relevant install of Linux on my Surface 3. I abandoned the effort to use Arch Linux, opting instead to try ElementaryOS since the main purpose of this device will be for some children to use during long car rides.
Install Elementary OS
The installation itself was easy:
- Disable Secure Boot as originally described below
- Install ElementaryOS to a USB drive: https://elementary.io/docs/installation#creating-an-installation-medium
- Insert the USB drive into the Surface and boot to USB:
- Turn off the Surface 3
- Press and hold the volume-down button
- Press and release the power button
- When the Surface logo appears, release the volume-down button
- Follow the install instructions
Warning: As I discuss below, following these steps will obliterate the Windows partition, since I don’t care to keep it. If you’re trying to dual boot Linux and Windows, you’ll have to find further instructions on that elsewhere.
Use Jake Day’s Surface kernel
This project from Jake Day makes this entire effort reasonably painless: https://github.com/jakeday/linux-surface
While not explictly supporting the Surface 3, it does seem to work when using kernel release 4.19.18:
- Using releases after 4.19.18 appear to not correctly recognize the battery on the Surface 3, so you can’t display a battery percentage (Related issue: https://github.com/jakeday/linux-surface/issues/452)
- Using releases before 4.19.18 gave me issues with audio not functioning
Kernel 4.19.18 seems to be the sweet spot of having both audio and the battery indicator functioning, and I haven’t noticed other issues yet. I haven’t bothered to get the Surface Pen to work, but the touchscreen and TypeCover both seem to work well.
Following the instructions from the project README are easy enough:
- Find your chosen version from the release page:
- https://github.com/jakeday/linux-surface/releases
- My instructions will show 4.19.18, change for your purposes as required:
- Download the appropriate
linux-headers,linux-image, andlinux-libc-files, then verify using the corresponding MD5 files - Install using dpkg:
sudo dpkg -i linux-headers-[VERSION].deb linux-image-[VERSION].deb linux-libc-dev-[VERSION].deb
That’s pretty as far as I’m planning to take it, seems like it works pretty well at this point.
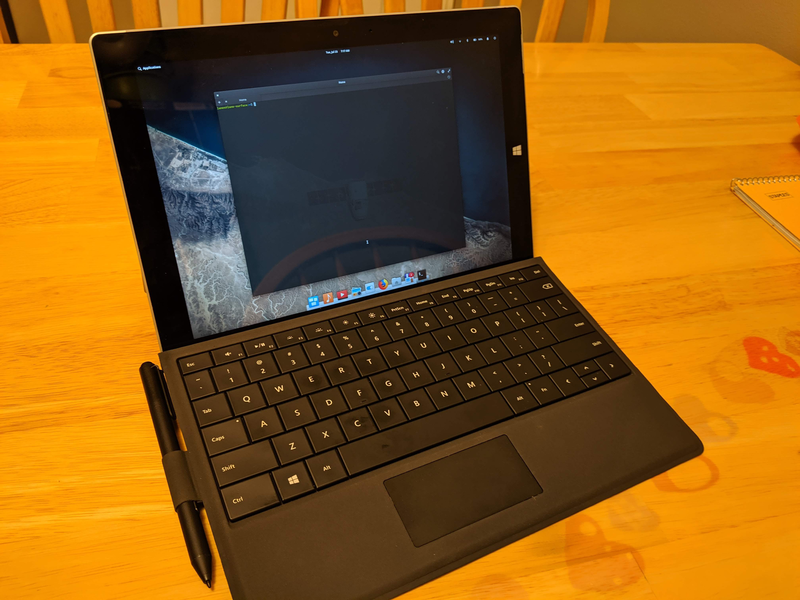
Action Shot of the Surface 3 running Elementary OS
A few years ago, I was given a Microsoft Surface 3 tablet that has since fallen into disuse. I was appreciative of the gift, though to be honest the Intel Atom CPU it came with is fairly underpowered when it comes to running Windows 10, so I decided to install a light Linux distro on it to get the tablet back into running order. I came across the blog post Running Arch Linux on a Surface 3 by Chad Voegele, which was fairly useful in getting started, and I wanted to write a post of my own to share some addition details and places where I diverged from Chad’s post along the way.
The biggest difference is that I had no intentions of dual booting Windows alongside Linux, so I disregarded any shrinking of the Windows partition or having to consolidate the Windows partition into one part of the SSD. Past that, I followed the overall path that Chad outlines with some minor modifications/details.
Disable Secure Boot
We’ll first need to disable the Secure Boot feature that checks installed kernels against an approved list, since we’re installing one that one be pre-approved by Microsoft.
- From the powered off state, hold the volume up button, press and then release the power button, and keep holding the volume up button until the BIOS screen appears
- Using the keyboard, go to the Secure Boot option, press enter to show the selection dialog, and then select Disable to disable Secure Boot
- From the BIOS screen, also change the boot order from
SSDtoNetwork > USB > SSDbefore moving on
Install Arch Linux
First install Arch Linux to a USB drive and then follow the Arch Linux wiki’s excellent installation guide. I didn’t have any problems with verifying that the Surface booted in UEFI mode or with the keyboard, but I did have to fight with the WiFi
WPA 2 Enterprise WiFi on the Surface 3 from Arch Linux
The BYU CS department where I was performing this operation uses WPA2 Enterprise for their wifi network, which made things a bit more complicated. From the WPA_supplicant page I found the the following WPA_supplicant configuration file allowed for connection to the network (_Note:_ You’d need to replace the text in between and including the angle brackets with your relevant information):
# File: /etc/wpa_supplicant/wpa_supplicant.conf

ctrl_interface=DIR=/run/wpa_supplicant
ap_scan=1
fast_reauth=1
network={
  scan_ssid=1
  ssid="<ssid>"                     # Replace this
  key_mgmt=WPA-EAP
  eap=PEAP
  identity="<username>"             # Replace this
  anonymous_identity="<username>"   # Replace this
  password="<password>"             # Replace this
  phase1="peaplabel=0"
  phase2="auth=MSCHAPV2"
}
Then, with my wifi adapter being located at /dev/wlp1s0, the following commands brought up the adapter, configured wpa_supplicant, and then obtained an IP address via DHCP:
# ip link set dev wlp1s0 up
# wpa_supplicant -B -i wlp1s0 -c /etc/wpa_supplicant/wpa_supplicant.conf
# dhcpcd wlp1s0
Partitioning the SSD
Continuing through the installation instructions, the next bit of trouble I had was with partitioning the SSD. Again, I didn’t care about not erasing the Windows partition since I do not want to dual boot Windows and Linux, so I erased the partition table for the drive and started to create my own. The problem that I ran into was that gdisk did not seem to correctly write the new partition table, but using parted did. If the SSD for my Surface was located at /dev/sdX (change as needed to your correct device name, which you can find by running # fdisk -l), then I used the following commands to delete the old partition table, create a new one, and then create
- The EFI System Partition (ESP)
- A swap partition
- A single root partition
# parted /dev/sdX
(parted) print                                      # View existing partitions
(parted) rm x                                       # Replace x with partition number
                                                    # Remove all of the partitions
(parted) mklabel gpt                                # Create new GPT table
(parted) mkpart ESP fat32 1MiB 550MiB               # ESP part. w/ 550 MB
(parted) set 1 boot on                              # Set as ESP (boot) partition
(parted) mkpart primary linux-swap 550MiB 1.5GiB    # Swap partition w/ ~1GB
(parted) mkpart primary ext4 1.5GiB 100%            # Remaining space to root/home part.
Formatting the partitions
Continue with the installation instructions to format the partitions:
# mkfs.vfat /dev/sdX1
# mkswap /dev/sdX2
# swapon /dev/sdX2
# mkfs.ext4 /dev/sdX3
Mount the partitions
Next, we’ll mount our root partition and then the ESP:
# mount /dev/sdX3 /mnt
# mkdir /mnt/boot
# mount /dev/sdX1 /mnt/boot
Boot loader
I continued with the installation instructions without any deviations until reaching the Boot loader section. From the bash shell on your mounted partition (where you should already be by running # arch-chroot /mnt), follow the recommendations to install the intel-ucode package:
# pacman -S intel-ucode
Then exit the bash terminal from your mounted partition, which will return you to the zsh session from the Arch Linux on your USB drive. From here, we’ll need to find the partition UUID, as described in the Systemd-boot page
You can find the PARTUUID for your root partition with the command
blkid -s PARTUUID -o value /dev/sdxY, wherexis the device letter andYis the partition number. This is required only for your root partition, not esp.
Run the indicated command, then replace XXXX in the code segment below with the appropriate UUID, and then save the file at /mnt/boot/loader/entries/arch.conf:
title   Arch Linux
linux   /vmlinuz-linux
initrd  /intel-ucode.img
initrd  /initramfs-linux.img
options root=PARTUUID=XXXX rootfstype=ext4 add_efi_memmap
Note that we added an additional initrd line to enable the Intel microcode updates in conjunction with the intel-ucode package we previously installed.
Finish Up
With that done, continue with the last bit of the installation instructions to unmount the partitions as needed and reboot. That should allow you to reboot from your Surface SSD into an Arch Linux shell.
Conclusion
This is as far as I’ve gotten at the moment, due to competing commitments with my time. As I go further with the install, to include a desktop environment, I’ll update this post to reflect those changes and anything else I find. Chad’s blog post continues with some excellent tips on how to improve the day-to-day user experience with the Surface running Arch Linux, and the Arch Linux wiki will have further instructions on other things you might want to do on your own.
Comments